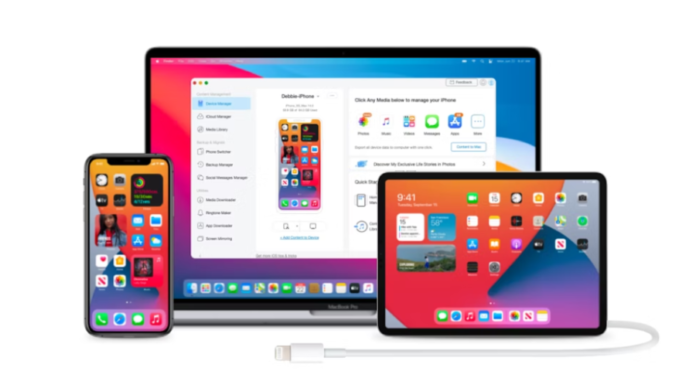
Photos are one of the most valuable possessions we have in our digital age. They capture our most precious moments and memories and it is important to keep them safe. An iPhone is a great device for capturing and storing photos.
But eventually, you may need to transfer them to a computer for backup or to free up space on your phone. However, the process of transferring photos from an iPhone to a computer can be confusing for some users, particularly for those who are new to the iPhone.
In this article, we will go over a detailed guide on how to transfer photos from iPhone to computer, including the various methods available and the steps involved. By the end of this article, you will have a clear understanding of the different ways to transfer photos from an iPhone to a computer and how to accomplish this task with ease.
Method to Transfer Photos from iPhone to Computer
Method 1: Transfer using iCloud
One of the easiest ways to transfer photos from an iPhone to a computer is by using iCloud. To do this, you will need to enable iCloud Photo Library on your iPhone, and then sign in to iCloud.com on your computer. Once you are signed in, you will be able to access all of your photos and download them to your computer.
- On your iPhone, go to the “Settings” app and tap on your name at the top of the screen.
- Tap on “iCloud” and then tap on “Photos”
- Drag the slider to the right to activate “iCloud Photo Library”.
- This will automatically upload all your photos to iCloud, and you can access them from any device.
- On your computer, open a web browser and go to iCloud.com. Now you need to login in with your Apple ID as well as your password.
- Click on the “Photos” icon and then select the photos you want to download.
- You can also create a new album and add the selected photos to that album.
- Click on the “Download” button to save the photos to your computer.
Method 2: Transfer using iTunes
Another way to transfer photos from an iPhone to a computer is by using iTunes. To do this, open iTunes on your pc and use a USB cord to attach your iPhone. Once iTunes recognizes your iPhone, click on the “Photos” tab and select the photos you want to transfer. You can then click on the “Import” button to transfer the photos to your computer.
- Use the USB cord which was included with your iPhone to connect it to your computer.
- Open iTunes on your computer.
- Click on the iPhone icon that appears in the top left corner of the iTunes window.
- Click on the “Photos” tab and check the box next to “Sync Photos.”
- Select the folder on your computer that contains the photos you want to transfer.
- You can also create a new folder and select that folder.
- To start the transfer procedure, click the “Apply” button.
- Wait for the transfer process to finish.
- Once the transfer process is complete, the photos will be saved to the selected folder on your computer.
Method 3: Transfer using AirDrop
If you have a Mac, you can use AirDrop to transfer photos from your iPhone to your computer wirelessly. You can also follow these instructions on how to transfer photos from iPhone to computer:
- On your iPhone, go to the “Control Center” by swiping up from the bottom of the screen.
- Tap on “AirDrop” and select “Everyone” to make your iPhone visible to nearby Macs.
- On your Mac, open a Finder window and click on “AirDrop” in the sidebar.
- Drag and drop the photos you want to transfer from your iPhone to your Mac.
- You can also right click on the photo and select “Share” then select “AirDrop” and choose your computer.
- Wait for the transfer process to finish.
- Once the transfer process is complete, the photos will be saved to the “Downloads” folder on your Mac.
Method 4: Transfer using USB Cable
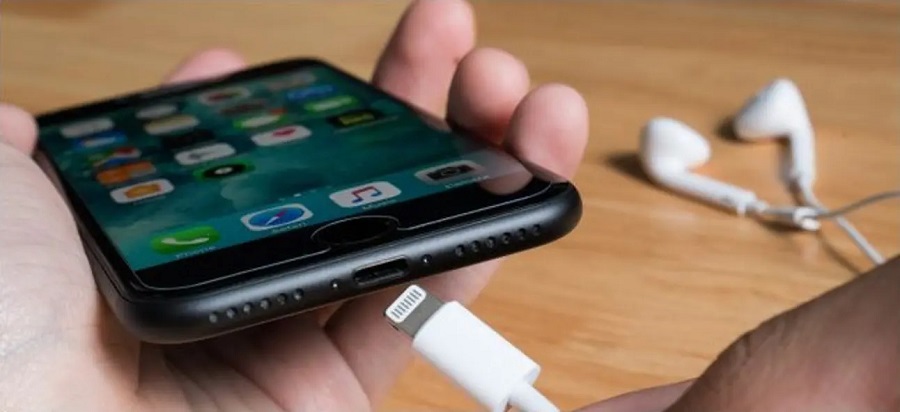
The most traditional way to transfer photos from an iPhone to a computer is by using a USB cable. To do this, connect your iPhone to your computer using a USB cable, and then open the “Photos” app on your computer.
- Use the USB cord that arrived with your iPhone to attach it to your computer.
- On your computer, open the “Photos” app.
- Select your iPhone from the list of devices that appears.
- Select the photos you want to transfer and then click on the “Import” button.
- You can also select “Import All” to import all the photos on your iPhone.
- Wait for the transfer process to finish.
- Once the transfer process is complete, the photos will be saved to the “Import” folder on your computer.
Method 5: Transfer using Third Party Applications
There are many third-party apps available that allow you to transfer photos from an iPhone to a computer. Some examples include:
- Dropbox: This app allows you to upload your photos to the Dropbox cloud and then download them to your computer.
- Google Photos: This app allows you to upload your photos to the Google Photos cloud and then download them to your computer.
- Photo Sync: This is a third party app that allows you to wirelessly transfer photos between devices over Wi-Fi or Cellular.
Here are the general steps for using any third-party app:
- Download and install the app on your iPhone and computer.
- Sign in to the app on both devices using the same account.
- On your iPhone, select the photos you want to transfer and upload them to the cloud.
- On your computer, sign in to the app and download the photos from the cloud.
It’s worth noting that the process may vary slightly depending on the app you choose and the version of the app. So, it is important to follow the instructions provided by the applications. Additionally, for all the third party apps, you will need a stable internet connection to transfer the photos.
Conclusion
In conclusion, there are several ways on How to transfer photos from iPhone to computer, including using iCloud, iTunes, AirDrop, a USB cable and third-party apps. Each method has its own advantages and disadvantages, so it’s important to choose the one that best suits your needs.
Remember to back up your important photos regularly to prevent data loss. With the detailed steps provided in this article, you should now have a clear understanding of how to transfer photos from an iPhone to a computer with ease.
Read Also: How To Transfer Data From iPhone To iPhone? A Detailed Guide


