


Introduction: The Painter’s Dilemma
You’ve got the paint. You’ve prepped the wall. But now comes the tricky part: Should you use a paint roller or a brush? This decision isn’t just about convenience—it can drastically impact how your paint job turns out. Whether you’re painting a small room or giving your kitchen cabinets a makeover, choosing the right tool is key.
This guide will help you understand the differences between a paint roller and a paintbrush, when to use each, and how to get the best finish every time.
Paint Roller vs. Paint Brush – What’s the Difference?
Paint Rollers
Best for: Large, flat surfaces like walls, ceilings, and floors
Pros:
Covers large areas quickly
Leaves a smooth finish
Great for applying even coats
Cons:
Not ideal for corners or edges
Requires more cleanup (rollers, trays)
Paint Brushes
Best for: Trim, corners, detail work, and touch-ups
Pros:
Precision and control
Works on textured or small surfaces
Easy to switch colors or paints
Cons:
Time-consuming on big areas
May leave brush strokes if used improperly
When to Use a Paint Roller
If you’re painting a large surface, like a bedroom wall or living room ceiling, the paint roller is your best friend.
Ideal Scenarios for Paint Rollers:
Interior walls and ceilings: Smooth coverage and fast work
Exterior surfaces: Large garage doors, fences, etc.
Undercoats or primers: Even distribution is key
Tip: Choose the nap (fabric thickness) of your roller based on the texture of the surface. A ⅜-inch nap is great for smooth walls, while thicker naps are good for textured surfaces.
When to Use a Paint Brush
While a roller may be great for speed, a brush is unbeatable for detail.
Ideal Scenarios for Brushes:
Cutting in around corners and trims
Painting furniture, railings, or cabinets
Touch-ups and small jobs
Edges and baseboards
Tip: Use angled brushes for better control on edges and corners.
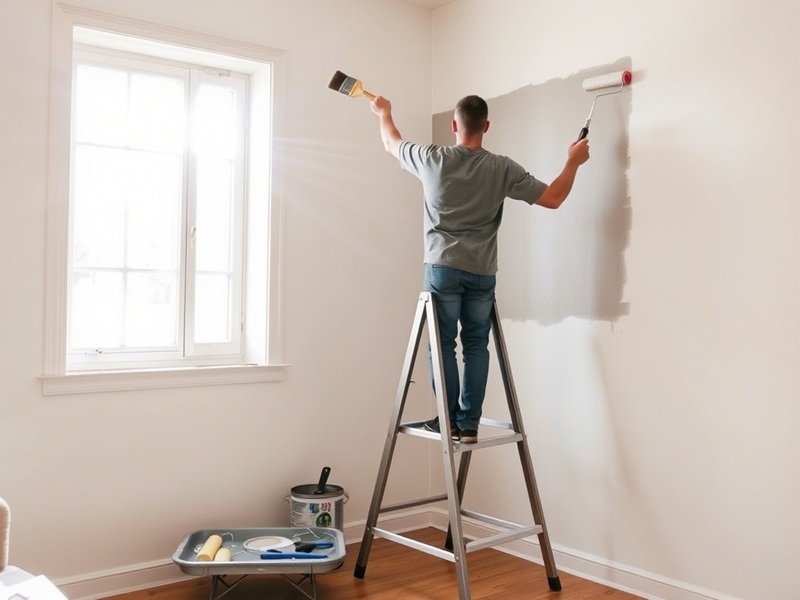
Combining Both for the Best Results
The truth is, you rarely use one without the other. Most paint jobs need both tools to get professional-looking results.
Step-by-Step Combo Painting Strategy:
Start with the brush: Cut in edges, corners, and trim
Use the roller: Fill in the large areas quickly
Backroll if needed: Go over the painted surface to even out texture
This method ensures clean edges and smooth finishes across your entire surface.
Paint Tool Maintenance Tips
Rollers: Rinse with warm, soapy water (or mineral spirits for oil-based paints), then dry thoroughly
Brushes: Clean immediately after use, reshape bristles, and hang to dry
Storage: Wrap brushes and rollers in plastic wrap if you’re taking a break mid-project
Final Thoughts: Choose Smart, Paint Smart
Choosing between a paint roller and brush doesn’t have to be confusing. Think about what you’re painting, the finish you want, and how quickly you need to get it done. For a flawless finish, combine both tools and follow good painting practices. Whether you’re a first-time painter or a weekend DIY warrior, using the right tool at the right time will save you time—and give you a pro-quality result.
FAQs About Paint Rollers and Brushes
Q1. Can I use a brush and roller together?
Yes! Use the brush for edges and the roller for large surfaces for best results.
Q2. What size brush is best for cutting in corners?
A 2–2.5 inch angled brush is ideal for precise cutting in.
Q3. Do rollers work on textured walls?
Yes. Use a roller with a thicker nap (½ inch or more) for textured surfaces.
Q4. Is it okay to reuse paint rollers?
Absolutely, if cleaned properly right after use.
Q5. How do I prevent brush marks when painting?
Use a high-quality brush, don’t overload it with paint, and apply even strokes.